How to Log in to Ledger.com/Start: A Step-by-Step Guide
In the rapidly evolving world of cryptocurrencies, having a secure and reliable platform for managing your digital assets is essential. Ledger.com/start provides users with an intuitive interface to manage, send, receive, and monitor their crypto holdings safely. Whether you’re a beginner or an experienced trader, logging in to your Ledger account is the first step toward taking control of your digital finances. In this guide, we’ll walk you through the process of accessing your Ledger account and making the most out of its features.
What is Ledger.com/start?
Ledger.com/start is the official gateway for users of Ledger hardware wallets and Ledger Live software. Ledger is a globally recognized brand in crypto security, known for providing hardware wallets that keep your private keys offline, offering an extra layer of protection against hacking. Ledger.com/start acts as the online hub where you can manage your Ledger device, check your balances, and execute transactions securely.
Step 1: Visit the Ledger.com/start Website
The first step is straightforward: open your preferred web browser and go to Ledger.com/start. Always ensure that you are visiting the official site to avoid phishing scams. Check for the secure HTTPS protocol and the correct domain name.
Step 2: Connect Your Ledger Device
To access your account, you need your Ledger hardware wallet, such as Ledger Nano S or Nano X. Connect your device to your computer via USB or, in the case of Ledger Nano X, via Bluetooth if supported. Your device will prompt you to enter your PIN code. This ensures that even if someone else has physical access to your device, they cannot log in without your PIN.
Step 3: Open Ledger Live
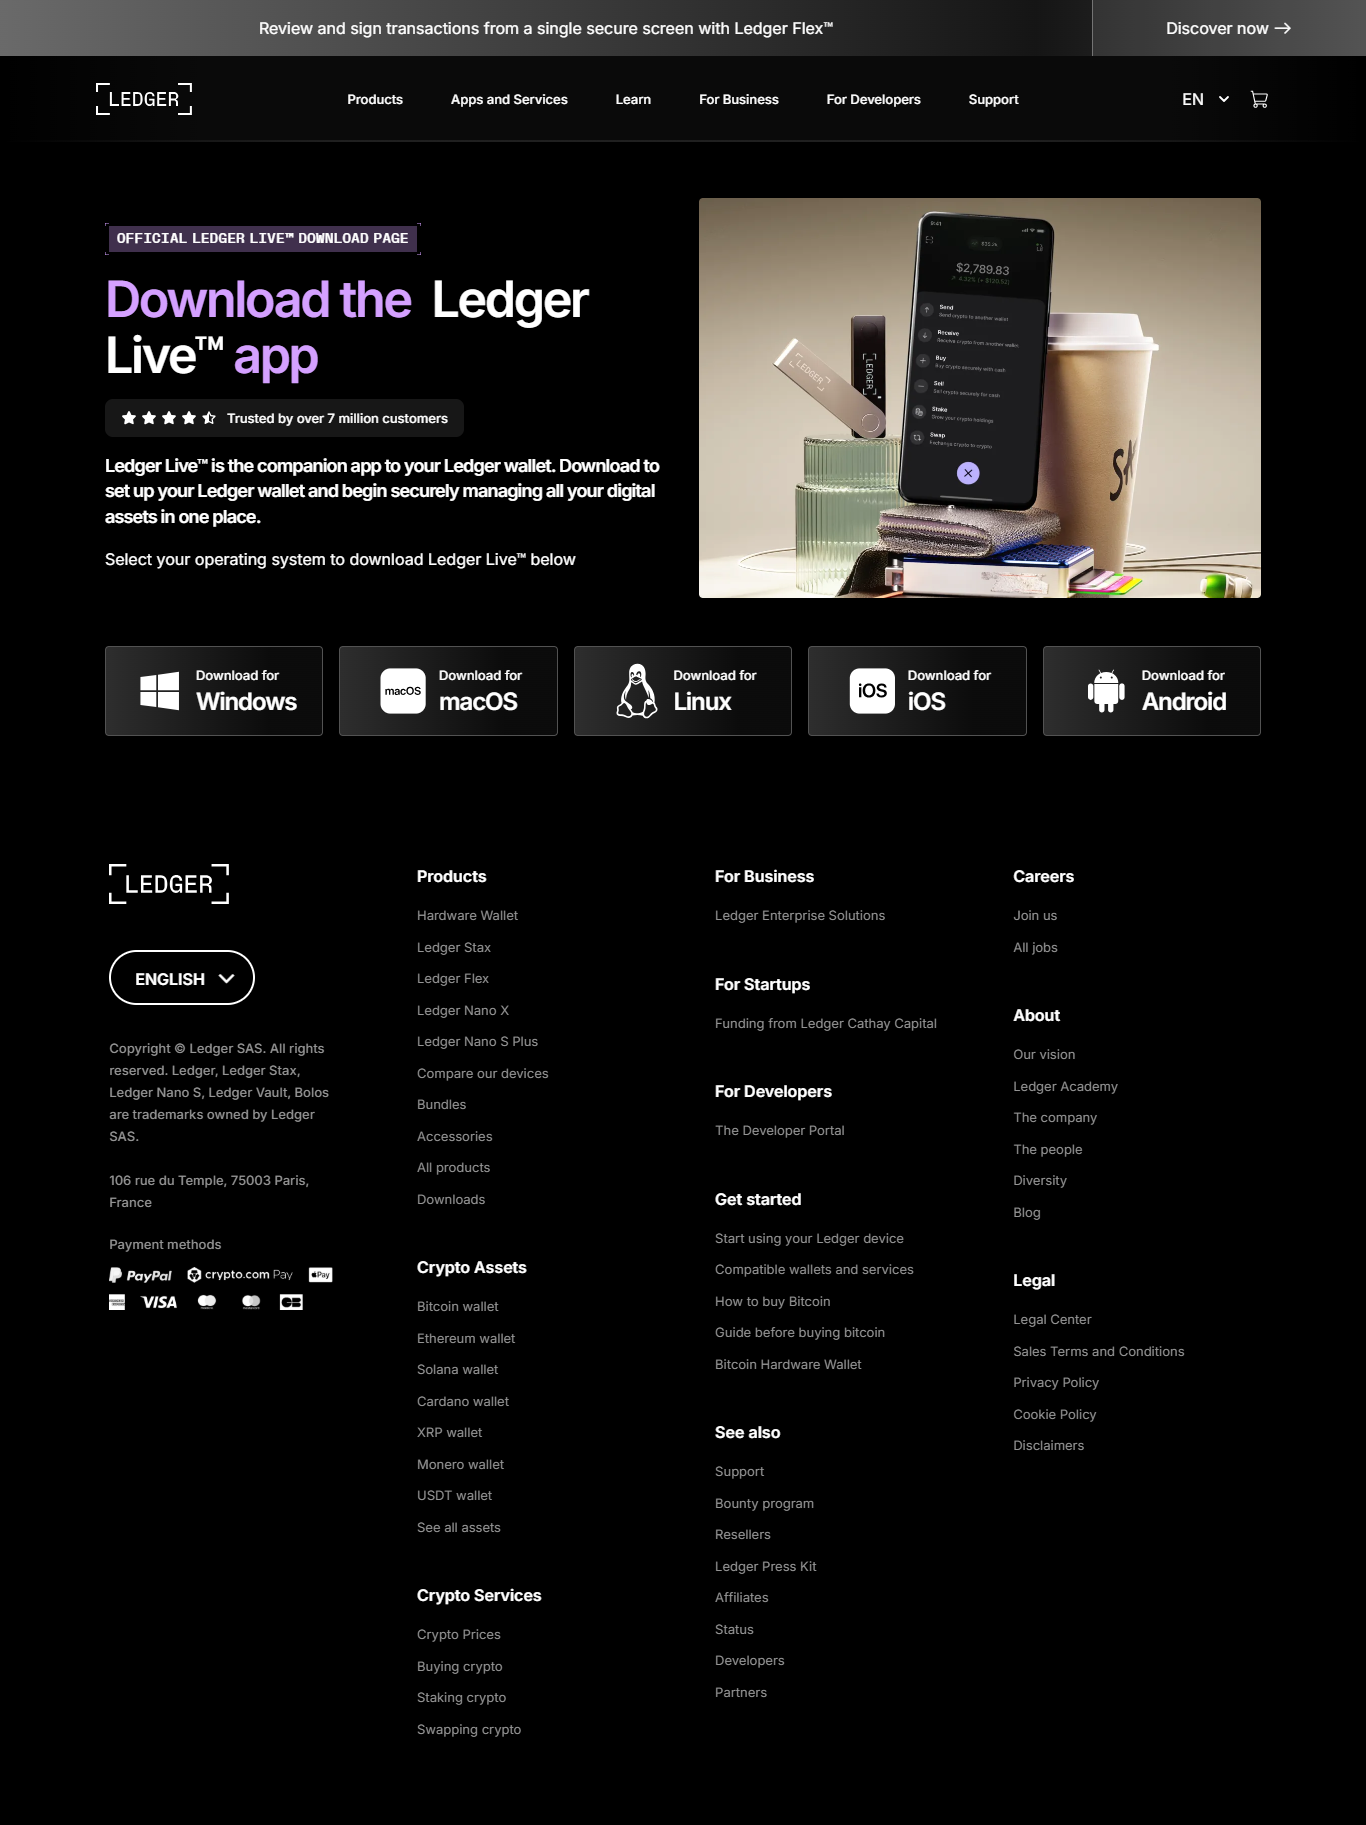
Ledger Live is the official application used to manage your Ledger hardware wallet. Once your device is connected, launch Ledger Live on your computer. If you haven’t installed it yet, you can download it directly from the Ledger website. Ledger Live is available for Windows, Mac, Linux, Android, and iOS devices.
Step 4: Access Your Account
After opening Ledger Live, select the “Manager” tab to verify that your Ledger device is recognized. Then, you can access your accounts by navigating to the “Accounts” section. If you’re logging in for the first time, you may need to add your crypto accounts manually by selecting the relevant cryptocurrencies supported by your Ledger device.
Step 5: Secure Your Login
Security is paramount when dealing with crypto assets. Ledger uses a combination of device PIN, passphrase, and recovery phrase to secure access. Never share your recovery phrase with anyone, and never enter it on a website. Ledger will never ask you for your 24-word recovery phrase online. Make sure your computer and browser are secure and up to date to avoid malware threats.
Step 6: Start Managing Your Cryptos
Once logged in, you can view your account balances, send and receive cryptocurrencies, and monitor real-time price alerts. Ledger Live also allows you to manage multiple crypto assets in one place, providing portfolio tracking, staking options for supported coins, and secure transaction management. The intuitive dashboard ensures that even beginners can navigate with ease.